From building their own Milky Way to creating a sundial, and crafting a solar system model, these activities will ignite a passion for learning while teaching them about the stars and planets. Not only are they easy to make with simple materials, but they also offer an engaging way to explore the science of our cosmos from home.
Our solar system is just a tiny part of the Milky Way: a massive, star-filled galaxy packed with mysteries. Galaxies are vast collections of stars, planets, gas, and dust, held together by gravity. They vary in shape – spiral, elliptical, or irregular – and can also contain comets, asteroids, and black holes.
The Milky Way is a spinning disk, and even at the speed of light, it would take 100,000 years to travel across the Milky Way! Fun fact: if the Milky Way were a dinner plate, our solar system would be smaller than a speck of dust.
There are billions of galaxies in the universe, forming over billions of years, sometimes merging to create even larger cosmic structures.
To truly appreciate the intricate beauty of the Milky Way, why not try creating your own version to explore its structure and majesty up close?

Materials needed:
Step 1: Prepare your plate
Take your paper plate and lay it flat on a surface. This will represent the disk of your galaxy.
Step 2: Draw the galaxy's arms
Using a black marker, draw spiral arms starting from the center of the plate and curving outward. These arms represent the Milky Way’s spiral structure. You can make them as swirly as you like, but typically, galaxies have two to four prominent arms.
Step 3: Add stars with glitter
Apply glue along the spiral arms. While the glue is still wet, sprinkle glitter over the plate to create the stars in your galaxy. Shake off the excess glitter. You can use silver or gold glitter for a classic starry look, or mix colours to represent different types of stars.
Step 4: Create the galaxy's centre
In the middle of the plate, draw a small black dot to represent the supermassive black hole at the centre of the galaxy.
Optional: Add more detail
For a more detailed model, use coloured markers or crayons to add nebulae, gas clouds, or other features to your galaxy. You can even label different parts of the galaxy if you’d like to learn more as you create!
Display your model:
Let your galaxy dry, then hang it on the wall or display it somewhere to admire your handiwork!
Have you ever wondered how people used to tell time before clocks were invented? Well, they used the sun of course! With just a few things you can find at home, you can make your own sundial and watch the shadow move as the sun travels across the sky. It’s like making your very own nature-powered clock!
Creating your own sundial is a great way to explore how the sun’s movement helps us track time. It’s also a fun science project to show off to friends and family. So gather your materials, head outside, and let the sun do the rest!

What you'll need:
Step 1: Prepare your sundial base
Take your paper plate or cardboard, which will serve as the base for your sundial. Decorate it however you like using markers or crayons! Once you're done, make a small hole in the centre—this is where the stick or pencil will go.
Step 2: Place the stick
Insert the stick or pencil through the hole in the middle of your base so that it stands upright. The stick will cast a shadow as the sun moves, so make sure it’s steady!
Step 3: Mark the hours
Place your sundial outside in a sunny spot. If you have a compass, align the stick to point north. If not, that’s fine! Check the shadow cast by the stick every hour and mark where it falls on the plate. Start in the morning and track it throughout the day. As the sun moves, the shadow will shift, just like a clock!
Step 4: Read the time
Once you've marked the hours, you’ll be able to tell time based on where the shadow falls. While it won’t be as exact as your watch, it’s a fun way to learn how the sun can tell time!
Fun fact: Sundials work because the Earth rotates, making the sun appear to move across the sky. That’s why the shadow changes position throughout the day!
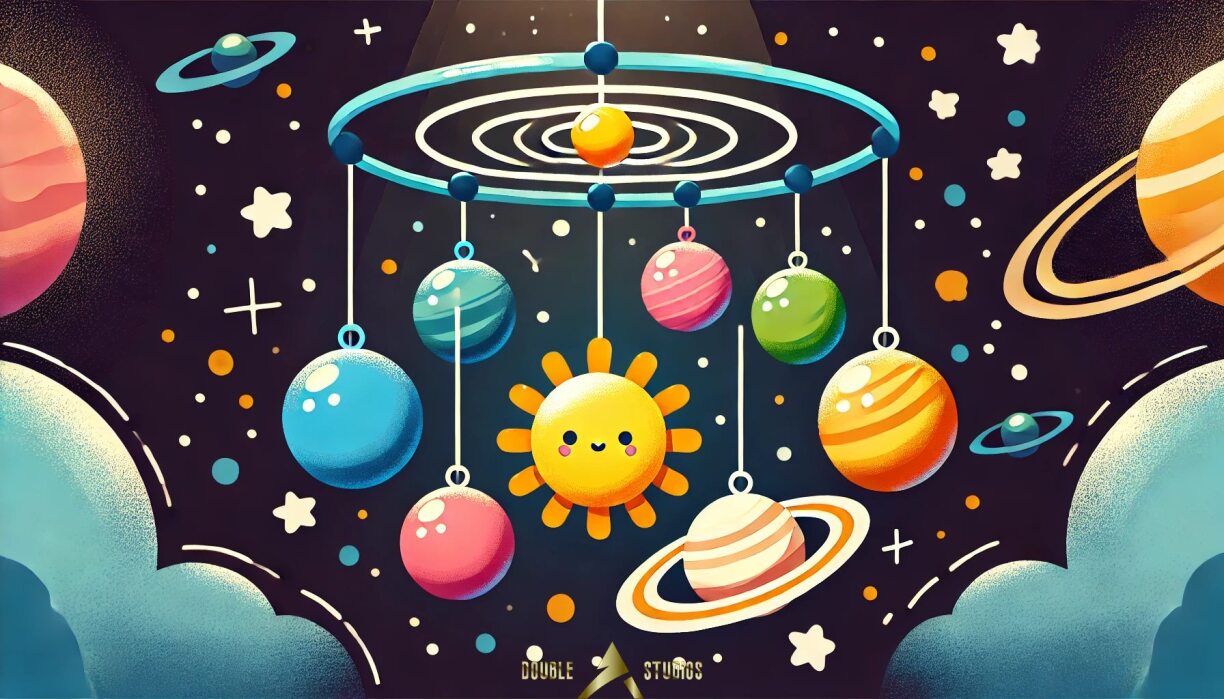
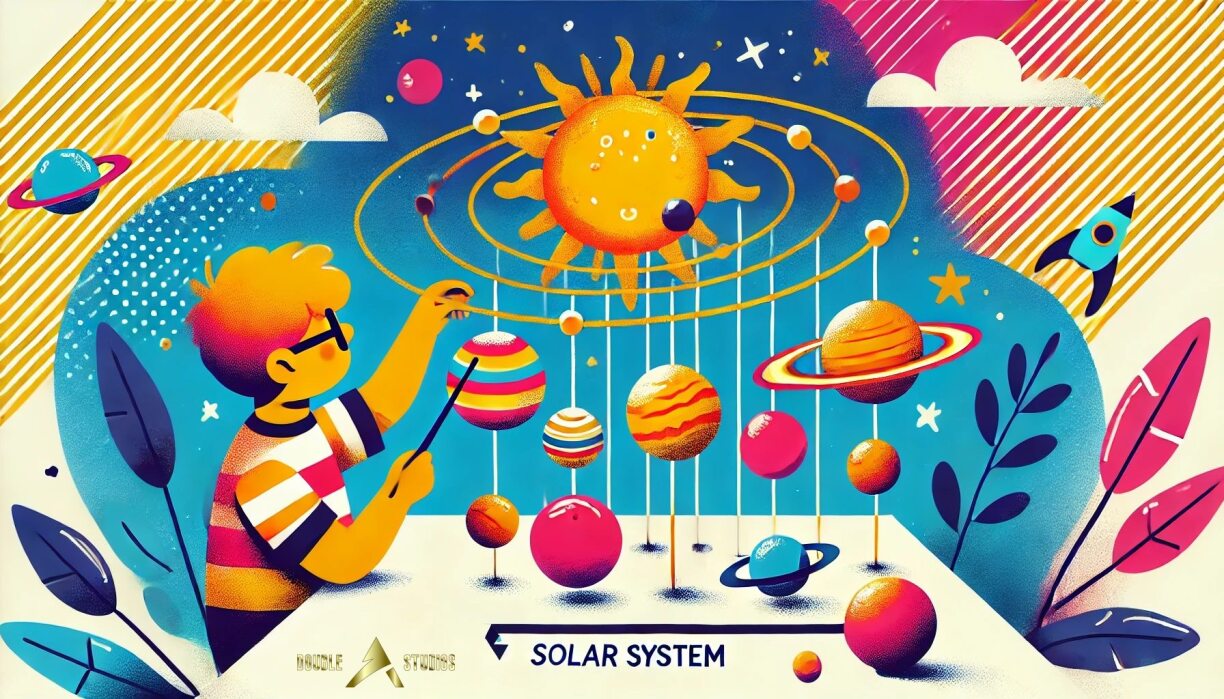
Have you ever dreamed of having the entire Solar System in your room? Now you can! With a few simple materials and a dash of creativity, you can build a vibrant model of the planets and the sun to showcase to friends and family. Creating your own Solar System model is a fun way to learn about space while getting creative. Plus, it makes a fantastic decoration for your room! So gather your materials, start crafting, and embark on your own space adventure!
What you’ll need
Markers (for adding details)
Step 1: Paint the planets
Begin by painting your styrofoam balls to resemble the planets. Here’s a quick guide:
Step 2: Build your Solar System
Once your planets are dry, it’s time to assemble them:
Lay out your base:
Use the cardboard sheet as the foundation for your Solar System. You can paint it black to mimic the vastness of space.
Position the sun:
Glue the sun at the centre of your base—it's the biggest and brightest star!
Hang the planets:
Use string or wire to suspend the planets around the sun, remembering that Mercury is the closest, and Neptune is the furthest away.
Add Details:
Use markers to create rings for Saturn, clouds for Earth, or spots on Jupiter.
Step 3: Show It Off!
Now that your Solar System is complete, find a prominent spot to display it. You can even hang it from the ceiling to create a mobile! Each time you see it, you’ll be reminded of the wonders of space and our planets.
Fun fact: If you scaled down the Solar System, Earth would be the size of a tiny ball, while the sun would be as large as a beach ball!
Adriano Anfuso is a photographer and digital creator who is passionate about capturing the awe-inspiring beauty of the cosmos and Earth's wonders. You can check out his work here.


